NorCal Brewing Solutions Cannabis / THC
Oil Decarboxylate and Extraction System
NOTE: The process of converting CBDa and THCa are the same – only time and temperature settings are different.
Jump to detailed Hemp / CBD Instructions
Detailed THC Instructions:
This document outlines the process of using CANNABIS (THC) for the FLOWER.
PREPARATION:
Decarboxylation is performed using wide mouth canning jars (any brand will work) and the NorCal Brewing Solutions Cannabis / Hemp Flower Decarboxylation Kit (SKU# 3810):
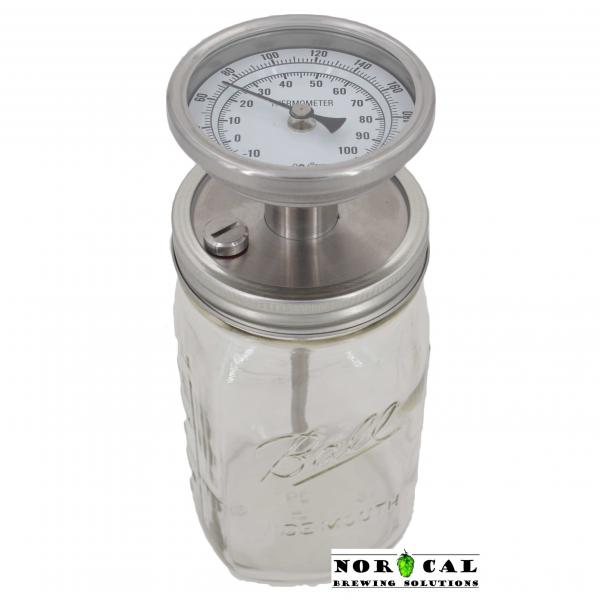
This example uses QUART (32 ounce) canning jars and 65 grams of crushed leaves and flowers. 65 grams is about the maximum to use in a quart jar to leave room for oil.
NOTE: You can use half gallon (64 ounce) jars - the process and temperatures remain the same. The amount of flower (and end product) increase, but so will the amount of heating and cooling time.
NOTE: Do not use canning jars smaller than a QUART (32 ounces) because the temperature probe of the thermometer is too long.
DECARBOXYLATION:
Step 1: Place a pizza stone or cookie sheet in oven. Preheat to 250 degrees Fahrenheit for 30 minutes. A pizza stone or a cookie sheet under the canning jar assures even heat distribution.
NOTE: Ovens vary. In our particular oven, actual temperature check showed 245 degrees Fahrenheit. You may want to check your oven’s actual temperature and calibrate accordingly.
Step 2: Add plant material to canning
jar and screw on Cannabis / Hemp Flower Decarboxylation Kit (SKU 3810):
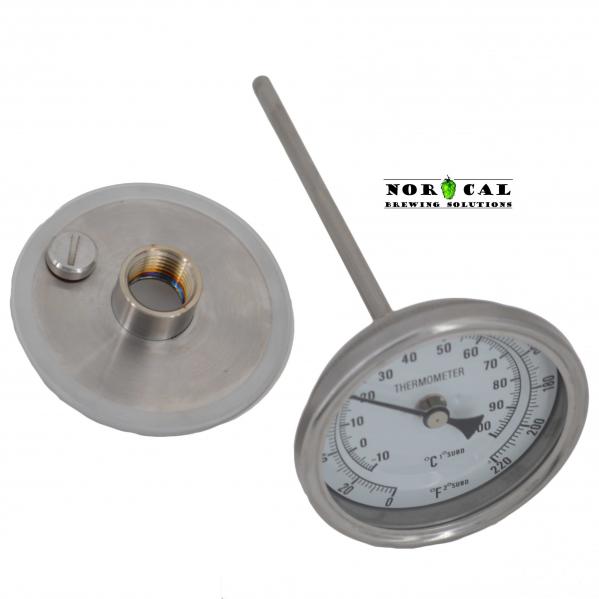

Lightly hand tighten the thermometer
- you are not aiming for an air-tight seal. There is no reason to use Teflon
tape on the threads of the thermometer.
Place assembly into oven on
top of pizza stone or cookie sheet.
CAUTION: Jar will become hot! Use gloves for Steps 3 – 7, and Step 10!
Step 3: Set timer to 60
minutes. Gently shake canning jar every 15 minutes until the jar’s dial thermometer (temperature
of the flower) reads 225 degrees Fahrenheit. If your flower gets to 225
degrees before 60 minutes move on to Step 4.
Step 4: Set timer to 60 minutes again. Gently shake canning jar every 15 minutes. As a precaution, open the Pressure Relief Valve (PRV) before and after you shake the canning jar. Be careful not to loosen the lid while you are shaking the jar.
Step 5: Set timer to 15 minutes and raise oven temperature to 260 degrees Fahrenheit. This temperature push really helps finalize the decarboxylation.
NOTE: At this point you will be at approximately 2 hours and 15 minutes of total decarboxylation time. Keep in mind it took 60+ minutes to get the cannabis in the jars to 225 degrees Fahrenheit. This is due to glass canning jars being great temperature insulators, and we need to account for this in the decarboxylation time. Slower is better and easier on the terpenes. We are trying to save the terpenes, and this is one of the main reasons to use a canning jar.
Step 6: Turn off oven and open oven door. Let jar sit in the oven for 30 minutes to slowly cool.
Step 7: Remove Decarboxylation Kit from oven. DO NOT OPEN JAR. Let sit for 60 to 90 minutes until cooled to room temperature.
Step 8: Once cool, open jar. Add
enough oil to jar to completely saturate and cover the decarboxylated cannabis material. Make
sure you measure the volume of oil you are using, as this will be important
later in the process if you want to know what the THC concentration level is of
your extract.
NOTE: You can use a variety of food-grade
oils. We have used organic Hemp Seed oil (around $10 for 12 ounces at Walmart).
We have used organic coconut oil, olive oil and avocado oil. Medium-chain
Triglyceride (MCT) oils are preferred, but any food-grade oil can be used. Different
oils produce different flavor profiles. Keep in mind: If you are going to use
this oil in a dropper and directly ingest it, coconut oil will solidify and
will need to be heated to melt it before use. Coconut oil is best for gummies,
as it adds to the gummies solidifying.
Step 9: Attach Canning Jar Lid
with Pressure Relief Valve (PRV) - SKU 3297:
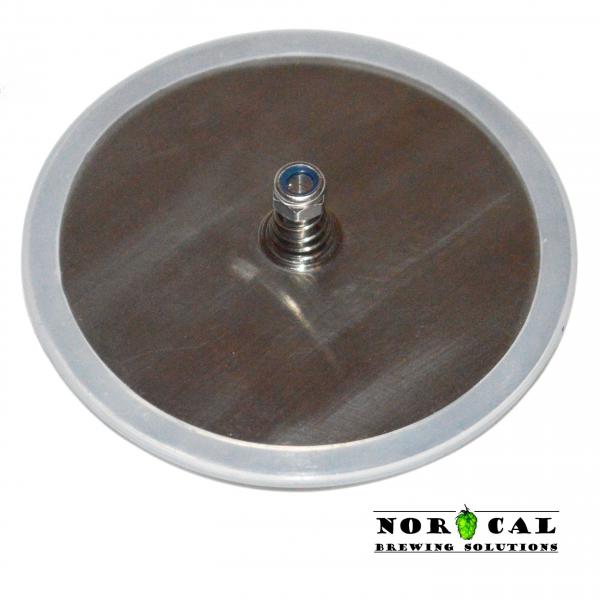
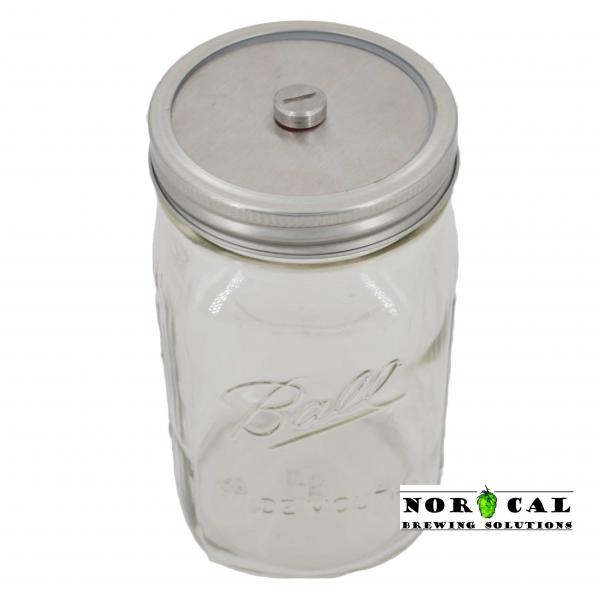
onto the canning jar. Set oven temperature for 230 degrees Fahrenheit. Place jar in oven on pizza stone or cookie sheet. Leave jar in the oven to saturate the oil into the cannabis for 5 to 8 hours. This process extracts THC from the plant material.
Step 10: Remove jar from oven
and cool to room temperature.
DRAINING OIL:
Step 1: Attach Cannabis / Hemp
Flower Filter (SKU# 3805):
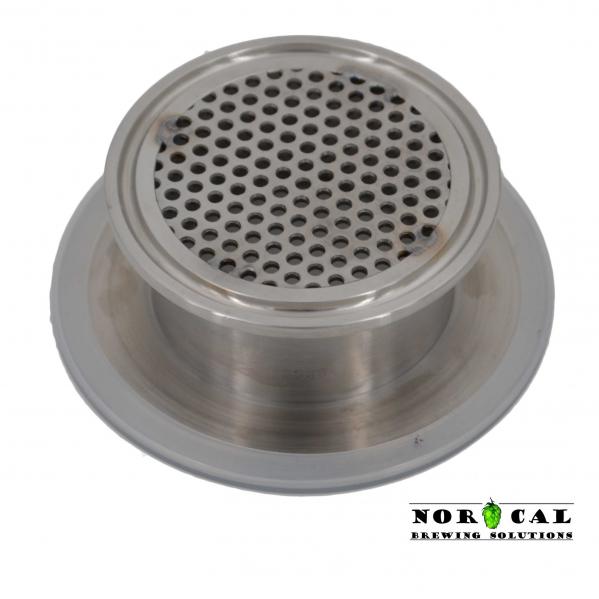
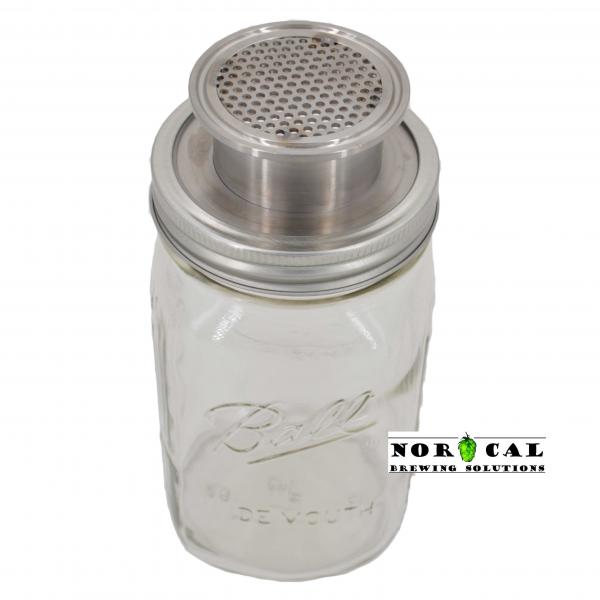
onto the canning jar, then drain jar contents into a
separate container.
OPTIONAL: Draining the oil takes
a long time. NorCal Brewing Solutions offers 2 products to speed and simplify
the process:
OPTION #1:
Cannabis Oil Processing Upgrade Kit (SKU# 3813) contains 2 components:
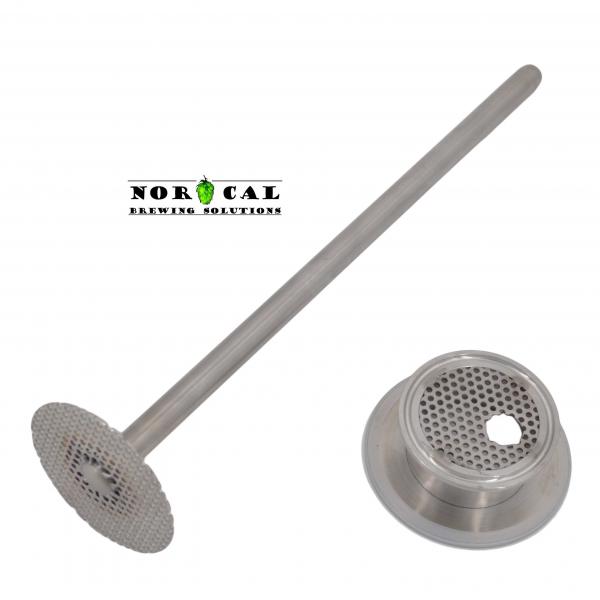
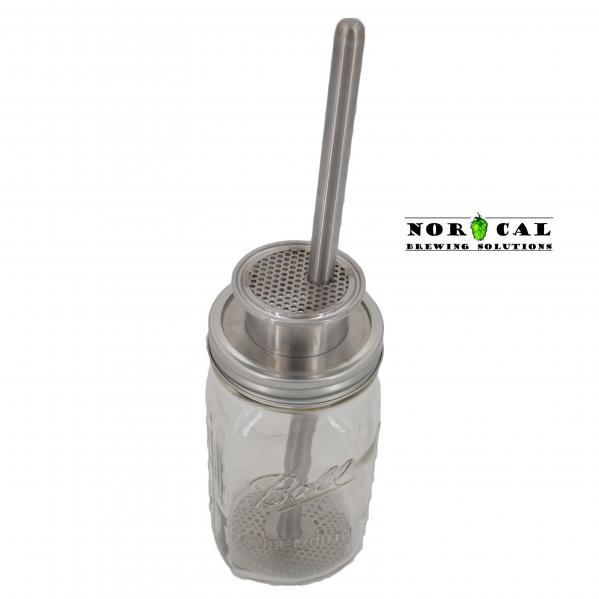
STEP 1: Insert
the handle of the Cannabis / Hemp Oil Hand Press (SKU# 3808) through the hole of the Cannabis /
Hemp Oil Filter with Hole (SKU# 3806) and attach to canning jar.
STEP 2: Press
the decarboxylated contents of the jar by pushing the Hand Press over the contents.
The oil will flow to the top of the canning jar, clumping plant material on the
bottom.
STEP 3: Pour
off the oil into a separate container.
STEP 4: Repeat
steps 2 and 3 until very little oil remains in the canning
jar.
OPTION #2:
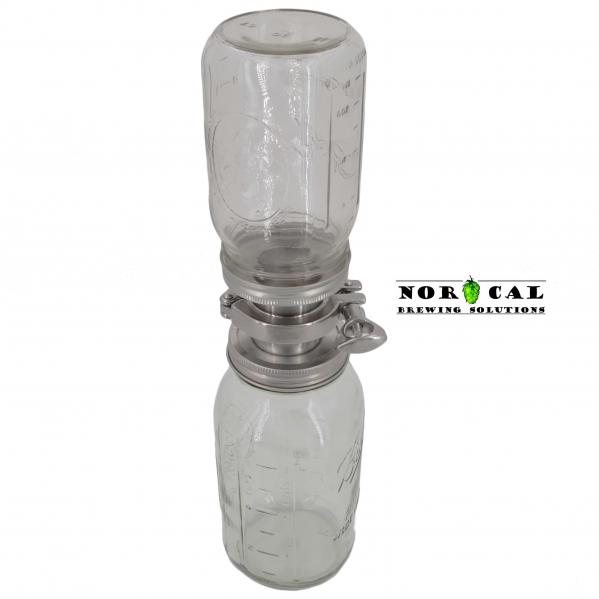
Attach 2 wide mouth canning jars together for long-term draining:
STEP 1: Attach
Cannabis / Hemp Flower Filter (SKU# 3805) to the canning jar containing decarboxylated
product (we will call this JAR 1). Set JAR 1 upright on a level surface.
STEP 2: Remove
the lid and ring off a 2nd wide mouth canning jar (we will call this JAR 2) of same
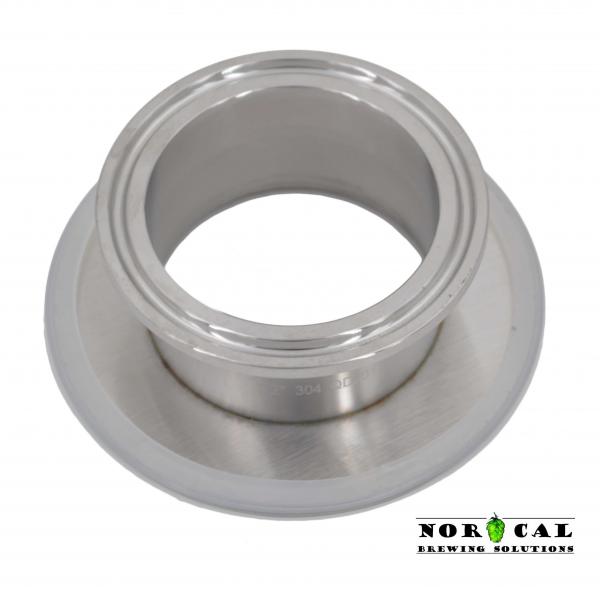
size as JAR 1. Attach Cannabis / Hemp Oil Tri Clover Jar Connector (SKU# 3815) to
JAR 2.
STEP 3: Turn
JAR 2 mouth-side down and place over JAR 1.
STEP 4: Using
a 2” Tri Clover Clamp (SKU# 1105) and 2” EPDM Tri Clover Gasket (SKU# 1450),
connect JAR 1’s Cannabis / Hemp Flower Filter to JAR 2’s Cannabis / Hemp Oil
Tri Clover Jar Connector.
STEP 5: Turn
the entire assembly over, setting the bottom of JAR 2 on a flat surface. Let
stand until oil is completely drained from JAR 1 into JAR 2. Even if the jars
are knocked over you won’t spill a drop!
USEFUL HINT: At this point there is very little oil left in the flower. You can use this oil/flower mixture in small amounts in a dinner salad, or in an Italian oil salad dressing!
FILTRATION:
The oil drained off in prior steps will contain plant
particles. The plant finings will drop out of suspension over time, leaving
clean oil on top.
OPTIONAL: Speed up the process of
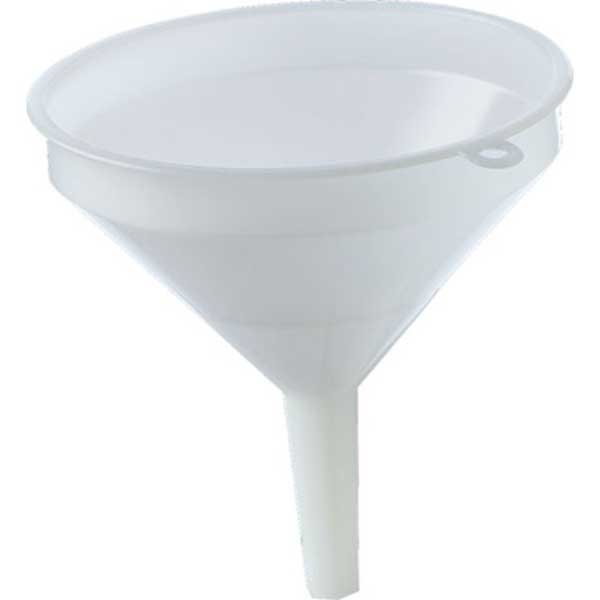
filtration by using an 8” funnel with filter insert (SKU# 3818):
along with a coffee
filter placed under the insert. The insert holds the coffee filter in
place, allowing hands-free operation.